If cylindrical rubber fenders are installed correctly, they will protect ships and quay structures as they were meant to. If резиновые кранцы для лодок aren’t lined up properly, have weak anchors, or have uneven suspension, they might become a regular maintenance concern.
Cylindrical Rubber Fenders: Basics and Site Fit
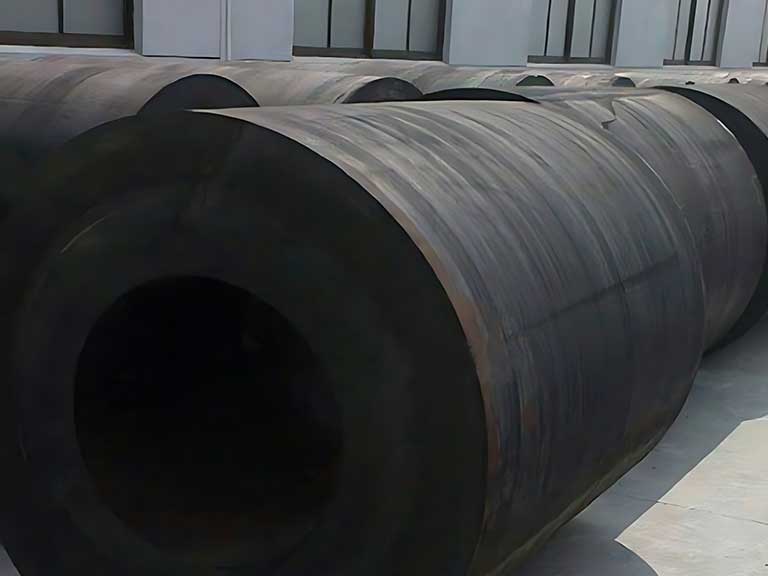
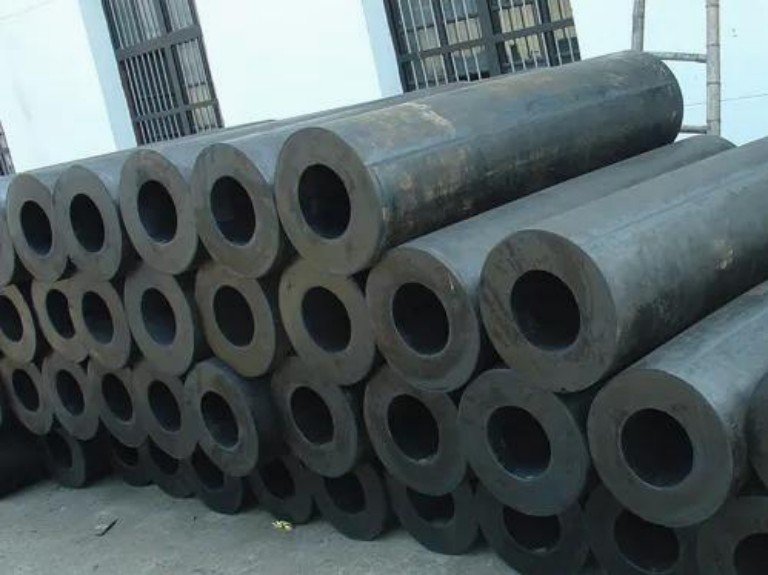
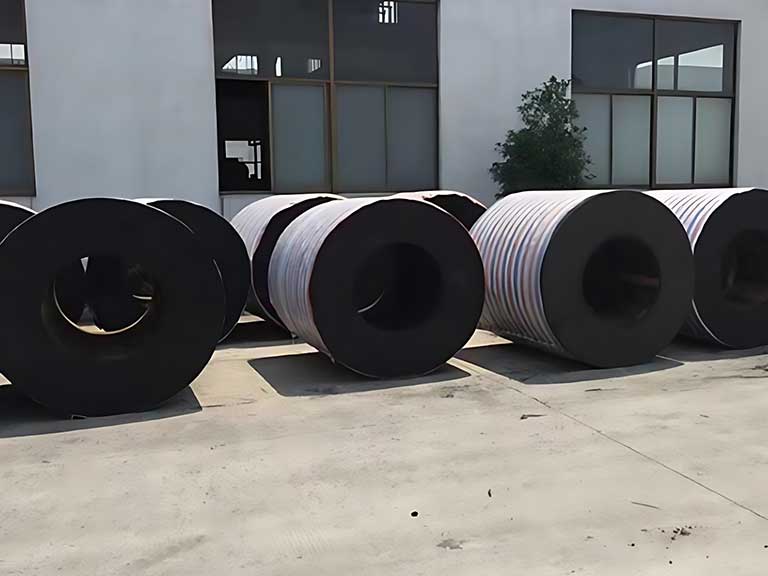
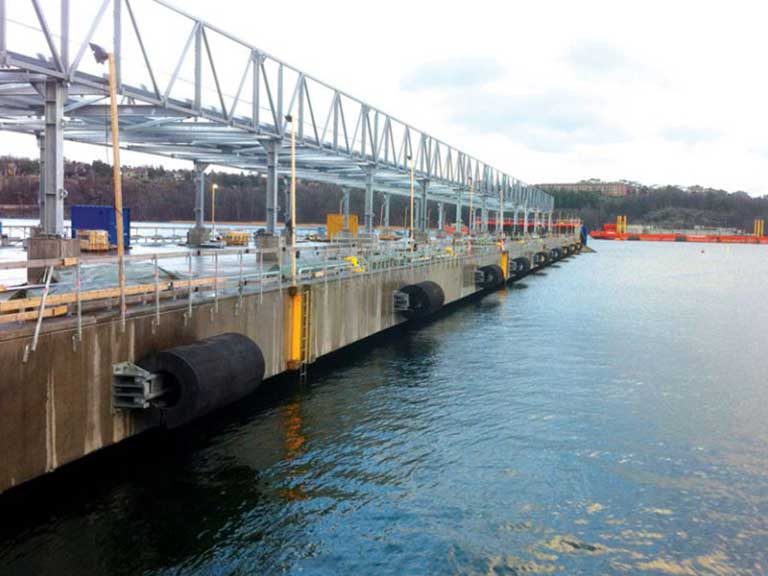
The berth contact line should match up with the fender centerline, and the structure should sustain the anchor weights for цилиндрические крылья to work well. The fender is a rubber tube that is empty inside and gets smaller when it touches something. It still needs to be in the right place and have secure fittings to work correctly.
If the wall surface is unclean, weak, or uneven, the installation will only be successful if the surface is well prepared and the anchors are of high quality. Depending on the contact zone, these fenders can be mounted horizontally, vertically, or diagonally.
A “standard size” doesn’t take the role of checks on-site. Always check the actual length, diameter, and bore condition of the fender that was delivered against the drawings and hardware that came with it.
Fit at the site is more than just geometry. Think about how to get to the lifting area, how far away it needs to be from the water’s edge, and how much space there will be for future inspections. Limited access means that the mounting mechanism must enable quick replacement and easy checks of chains, shackles, and anchors.
Pre-Installation Checklist
When the staff finishes a simple checklist, the installation goes smoothly. This checks the surface, anchors, tools, and lifting plan before drilling or lifting starts. The purpose is to keep holes from being out of line, cross-threaded, or made too quickly near the quay edge. If something goes wrong, stop and fix it before the fender hits the ground.
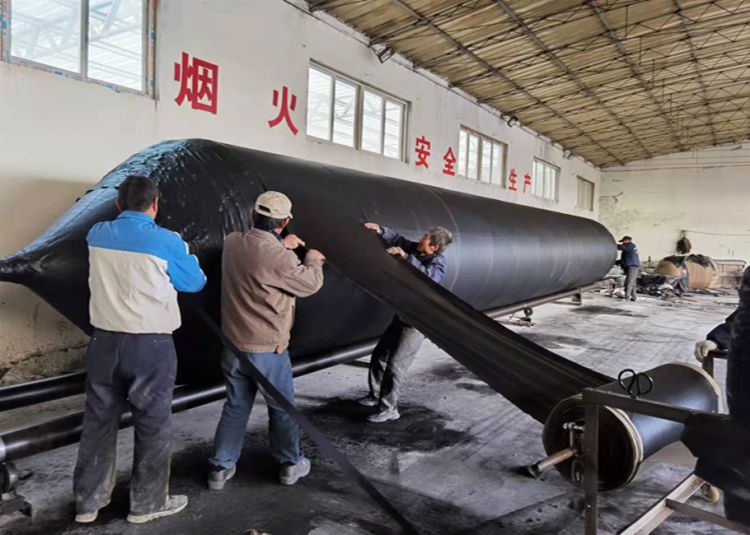
First, think about the work area and safety. Make sure that the team has the right personal protective equipment (PPE) for working on the dock. Make sure that the lifting device is appropriate for the fender’s length and how it will be handled. If the units are longer, prepare how to keep them from bending and swinging while you raise them with soft slings and a good spread.
Next, look at the area where the installation will take place and the anchor zone. The wall needs to be clean, solid, and sound. Loose coatings, marine vegetation, or concrete that is falling apart make anchors less effective. From a clear reference line, mark the arrangement. Make sure the spacing is correct by taking at least two measurements. This will make sure the final fender line fits the area where the vessel touches the ground.
Finally, set up all of the hardware and safety gear. Get ready chains, shackles, rods, or bars (if you need them), U-anchors or mounting plates, bolts, nuts, washers, and corrosion protection like grease or coatings. Before lifting, check the threads and fit. When you force connections under load, it can break the threads and make the tension unequal.
Pre-Installation Checklist (Use on Site)
| Проверить товар | What to Verify | Почему это важно |
|---|---|---|
| Wall condition | Flat enough for fit-up; clean; no loose coating or weak substrate | Reduces anchor failure and uneven contact |
| Layout reference | Centerline marked; spacing confirmed from a single datum | Prevents cumulative alignment errors |
| Anchor points | Hole locations clear; hardware matches mounting plates/U-anchors | Avoids rework and misfit under load |
| Rigging plan | Soft slings; lift path; swing control; access clearance | Protects rubber and improves handling safety |
| Hardware readiness | Chains/shackles not twisted; threads clean; washers and nuts staged | Prevents cross-threading and uneven tension |
| Corrosion protection | Coating/grease plan for exposed metal parts | Slows corrosion in saltwater environments |
Installation Methods and Typical Uses
Pick the mounting option that works best with your berth structure, the movement you expect, and how easy it is to get to for maintenance. Rod-and-bar restraint, chain suspension, or ladder-style chain restraint are all conventional ways to hold cylindrical fenders in place. Each strategy works effectively in certain situations and fails in others that are known to be faulty.
Rod-and-bar fittings are good for installations that need to be held in place firmly and stay in place on fixed quay walls. The bar goes through the fender bore and attaches to fittings and anchors at both ends. This spreads the weight out and keeps it from moving sideways. It suits bigger ships and berths with very little vertical movement.
When you need something that is flexible and can be changed quickly, chain fitting works best. There is no central bar on the fender; it hangs by chains at both ends. This makes it easier to handle and cuts down on hardware inside the bore. Dolphins, barges, and places where some movement lets the fender follow contact often have this.
When vertical control is most important, ladder fitting is helpful. Several chains keep the fender stable across a wide variety of tides or when it moves up and down a lot. It keeps things from drifting too far, but it needs balanced tension and anchors that stay in the same spot.
Step-by-Step Installation Workflow
Mark, anchor, pre-assemble, lift, connect, align, protect, and verify are the steps that make up a good installation. This method keeps the fender in check and lowers the risk of a chain that is twisted chain or a fender that is off-center. Stop and fix the problem before moving on if you can’t confirm a step.
- Mark and Anchor: Use the site reference to find the centerline of the fender and the holes for the anchors. Drill the holes needed for the anchors and the base material. Before you lift the fender, make sure the anchors and plates are in the right place.
- Pre-Assemble: Put together as much as you can in a safe, flat place. To fit the rod and bar, put the bar in place and connect the end hardware so that the fender may be lifted as one piece. For chain fittings, cut the chain to the right length and make sure it isn’t twisted.
- Lift and Position: Use soft slings to slowly lift the fender so that the rubber surface doesn’t get damaged. If you need to, use tag lines to stop spinning. Don’t pull the fender over rough ground, as cuts can make it weaker.
- Connect and Adjust: Put the fender on the anchors. Attach chains or bar ends to the U-anchors or mounting plates, making sure that both sides are the same length so that the fender hangs straight. Give it enough slack so that the water level can change, but maintain it balanced so it doesn’t tilt.
- Align and Check: Line up the fender with the line you want it to touch. Check its position with a level and some reference marks. Push the fender by hand to make sure it slides smoothly and doesn’t strike the wall.
- Protect and Verify: As intended, put coatings or grease on the metal that is exposed. Use locks that work with the hardware. For future inspections, write down the final location, hardware specifics, and installation date.
Post-Installation Inspection and Maintenance Plan
Check after installation to make sure everything is lined up, attachments are secure, and movement is as intended before using it normally. It’s better to do a brief check straight after work than to notice problems after the first heavy berthing. Don’t think of every failure as something to keep an eye on later. Instead, think of it as a rectification task.
First, look at the geometry and the attachment. Check that the anchors are in the right place, the shackles are pinned down correctly, and the chains are not twisted. Make sure that the fender is on the right centerline and that both sides have the same angles and tension.
Next, make sure you have protection and paperwork. Look for damage to the rubber from handling and check to see if the metal is protected from corrosion. Take pictures and write down the information so that future teams can set things up the same way when they replace them.
Plan upkeep based on how much traffic and exposure the area gets, but don’t make it too complicated. Berths with a lot of traffic need to be checked visually often. Set up regular checks of your hardware to look for rust and loose pieces. Metal parts tend to wear out faster than rubber ones. If the conditions are bad or there is a lot of vibration, shorten the intervals and write down any changes.
Узнать больше: How To Maintain And Clean Rubber Fenders?
Common Problems and Quick Fixes
Most installation difficulties show up as metal parts that are tilting, drifting, or rusting quickly. These problems usually mean that the chain is too long, the anchor is in the wrong spot, or there isn’t enough corrosion protection. A good repair doesn’t merely treat the symptom; it also treats the source.
- Tilting or Drifting: If a fender tilts or shifts to the side, the first thing you should do is check the chain length and tension on both sides. Fix any differences. You should also search for a twisted chain or shackle that is making the fender turn.
- Wall Contact: If a fender touches the wall when the water level changes, the slack may be wrong or the anchors may be dragging it in. Change the length of the chain so that it can move freely in all directions. If that doesn’t work, you should look over the installation geometry again.
- Rapid Corrosion: If hardware rusts quickly, it probably doesn’t have enough protection. Reapply the planned protective layer or grease after cleaning. If any parts are badly damaged, replace them.
- Loose Anchors: If you find loose anchors, cease what you’re doing right away. Check the base material, the hole, and the anchor system again. As needed, reset or change the anchors. Using loose anchoring might cause big problems with the structure.
Заключение
A successful installation of a cylindrical rubber fender matches the procedure to the berth, employs strong anchors, and keeps the suspension even. Long-term stability comes from disciplined preparation, controlled lifting, and clear records after installation. Consistent procedures and regular hardware maintenance make it easier to inspect, change, and replace things over time.
ЧАСТО ЗАДАВАЕМЫЕ ВОПРОСЫ
Before putting in cylindrical rubber fenders, what kind of surface is okay?
The surface ought to be clean, stable, and robust enough to retain anchors without breaking or flaking. A smooth surface helps with fit-up, but a strong substrate and stable anchor seats are more important. If there is loose coating, marine vegetation, or weak concrete, prepare the whole surface.
How do we decide which fittings to use: rod and bar, chain, or ladder?
Use the right procedure for the berth construction and the expected movement, not for the ease of use of the hardware. For firm restraint and sturdy placement on fixed walls, use a rod-and-bar. Pick a chain or ladder if you need to restrict movement, deal with changing tides, or make it easy to replace.
How can we make sure everything is lined up during installation?
With symmetrical suspension, the fender centerline must line up with the vessel contact line. Mark from a line that is easy to see. Check using a level and measurements taken from the same point several times. Before you finish, make sure that the tension and angle are the same.
After installation, how much should the fender move?
The fender needs to move in a regulated way so that it may take hits without twisting, binding, or hitting the wall. The exact amount depends on how it is mounted, the shape of the berth, and fluctuations in the water level. If the fender can’t move a little bit without striking the wall, change the geometry.
How often should we check the hardware and cylindrical rubber fenders?
Set the base frequency according to how much traffic and corrosion it gets. Always check chains, shackles, and anchors on a regular basis. Visual checks find early signs of tilt, drift, and damage to the rubber. Scheduled hardware checkups prevent corrosion and loosening from becoming hazards of failure. After strange hits or berthing events, do more examinations.