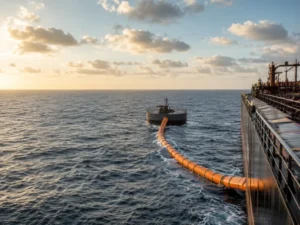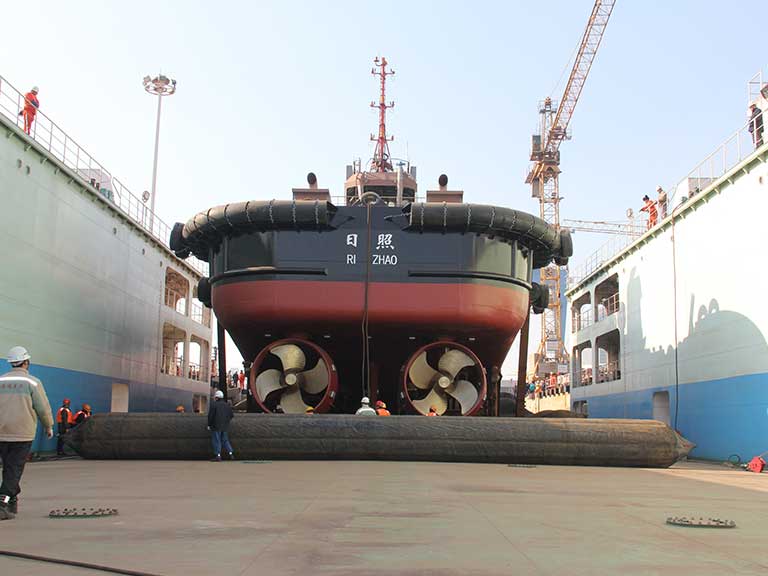
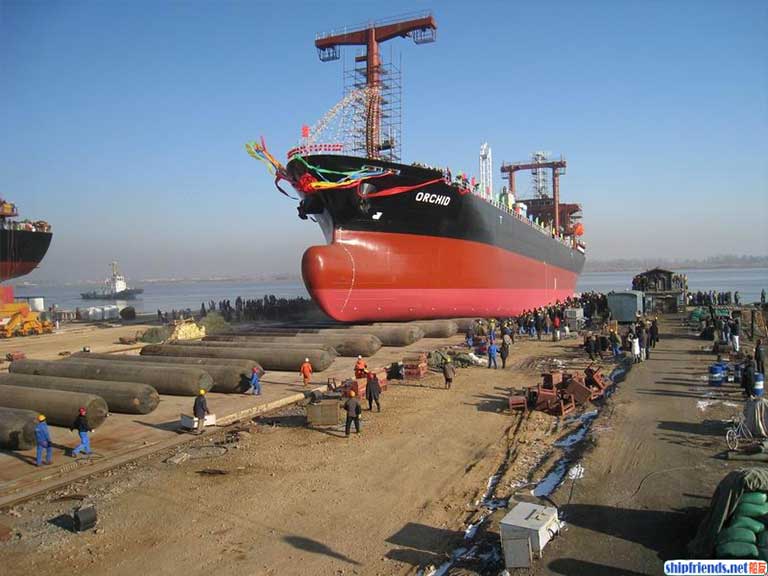
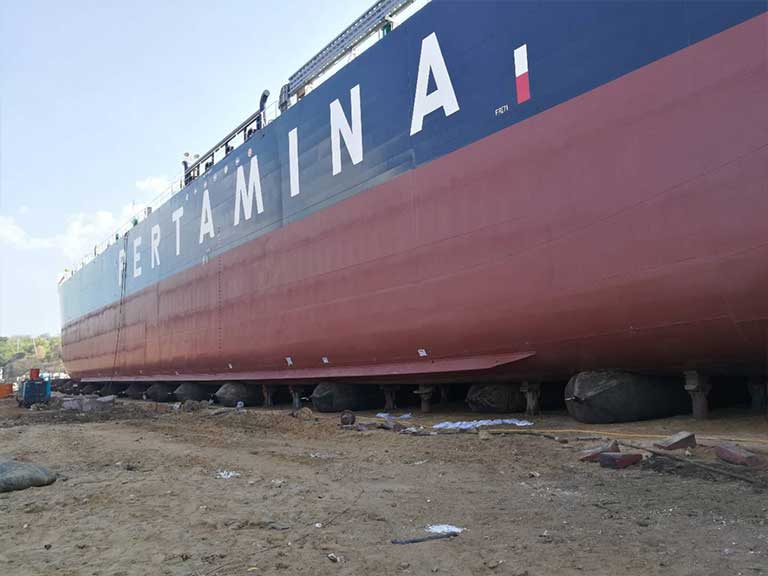
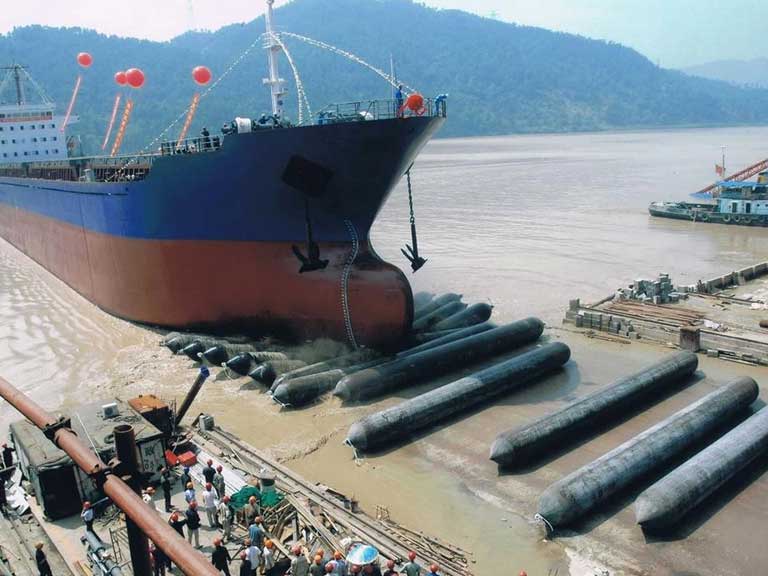
A ship launching airbag is a cylindrical inflatable device used to launch, lift, and transport vessels. It consists of a wear-resistant rubber outer layer, multiple layers of high-strength synthetic cord reinforcement, and an airtight inner liner. With proper maintenance, a quality airbag can last up to 15 years.
However, airbags can suffer surface damage during operation. Overinflation beyond rated pressure, contact with sharp objects, or friction against rough slipway surfaces can cause cuts, punctures, or abrasion. When damage occurs, a proper repair can restore the airbag’s performance and extend its service life, saving significant replacement costs.
This guide covers how to assess damage, prepare tools and materials, and complete a hot vulcanization repair in 5 steps. It is based on repair procedures used at Henger Shipping Supplies, where our engineering team has manufactured and serviced ISO 14409-compliant airbags for over 20 years.
Safety Warning
Airbag repair involves flammable solvents, high-temperature equipment (150°C), and pressurized inflation testing. Before starting any repair work:
- Wear heat-resistant gloves, safety goggles, and flame-retardant clothing
- Work in a well-ventilated area — rubber solvents produce flammable vapors
- Keep fire extinguishers accessible at all times
- Never heat the airbag until all solvent has fully evaporated
- Maintain a safe distance during inflation testing
Henger strongly recommends that repairs be performed by trained technicians. This guide describes the professional repair process for reference and field use.
Assess the Damage: Repair or Replace?
Not all damage can be repaired. Before starting, inspect the airbag thoroughly and determine whether repair is viable.
Repairable damage:
- Surface rubber abrasion (outer layer only, cord layers intact)
- Single cuts or cracks shorter than 50 cm
- Small punctures that do not penetrate the inner liner
Damage requiring replacement:
- Cord reinforcement layers are severed or exposed over a large area
- Multiple cracks are appearing across different zones of the airbag
- The inner liner is breached and cannot hold air after patching
- The airbag has exceeded its rated service life or number of launch cycles
Rule of thumb: If damage penetrates more than two cord layers or the crack exceeds the airbag’s diameter, replacement is more cost-effective. Contact Henger for a free damage assessment if you are unsure.
Tools and Materials
Tools Required
| Tool | Purpose |
|---|---|
| Electric sander (80–120 grit) | Roughen the damaged surface for better adhesion |
| Rubber solvent (naphtha or toluene) | Clean the repair area, do not use gasoline |
| Rubber applicator brush | Apply bonding adhesive evenly |
| Large curved needle + polyester cord | Stitch longer cracks before patching |
| Heating plate (electric vulcanizer) | Heat the patch to 150°C for vulcanization |
| Hydraulic press or C-clamps | Apply even pressure during vulcanization |
| Metal backing plate + rubber pads | Distribute pressure evenly under the heating plate |
| Sandbags or weights | Stabilize the airbag during repair |
| Infrared thermometer | Monitor vulcanization temperature |
Repair Materials
| Material | Function |
|---|---|
| Surface rubber sheet (1 mm thick) | Covers the crack and restores the outer surface |
| Cord rubber sheet (same spec as airbag body) | Reinforces structural strength across the repair zone |
| Bonding cement (chloroprene-based rubber adhesive) | Bonds repair layers to the airbag body |
| Release fabric (nylon separation cloth) | Prevents the heating plate from sticking to the patch |
Henger Tip: Always use repair materials that match the original airbag’s rubber compound. Mismatched materials can cause delamination after vulcanization. Henger supplies matched repair kits for all our marine airbag products.
5 Steps to Repair a Ship Launching Airbag
Step 1: Clean the Surface
Remove all dust, oil, salt, and marine growth from the damaged area using a rubber solvent (naphtha or toluene). Wipe the surface with clean cloths until no residue remains.
Important: Do not soak the airbag in water for more than 10 minutes before repair. Prolonged water exposure can cause moisture absorption in the cord layers, which weakens the vulcanization bond.
Allow the cleaned surface to air-dry completely. This typically takes 15–30 minutes, depending on temperature and humidity. All solvents must fully evaporate before any heating begins.
Step 2: Inspect and Mark the Repair Area
Examine every section of the airbag carefully. Use chalk or a marker to outline each crack, cut, or worn spot.
Mark the repair boundary as a circle with a 36 cm radius from the center of the damage. This ensures the patch extends well beyond the damaged zone for a reliable bond.
Step 3: Stitch and Apply Repair Layers
Stitching (for cracks longer than 10 cm):
Thread a large curved needle with polyester cord (3–5 mm diameter). Position each stitch 2–3 cm from the crack edge, with 10 cm spacing between stitches. This holds the crack closed and prevents it from spreading during vulcanization.
Surface preparation:
After stitching, use an electric sander (80–120 grit) to roughen the entire repair area. This creates a textured surface for better adhesive bonding.
Adhesive application:
Prepare bonding cement by mixing chloroprene rubber adhesive with naphtha solvent at a 1:8 ratio (adhesive to solvent). Apply a thin, even coat over the entire repair area using a rubber brush. Allow it to dry until tacky (approximately 10–15 minutes).
Layering the patch:
Cut the repair rubber sheets to size. Build the patch in 2 to 6 layers, depending on the severity of the damage:
- Layer 1: 1 mm surface rubber, placed with the cord grain running at 0° (along the airbag’s length). The sheet should extend 1 cm beyond the crack edges on all sides.
- Layer 2: Cord rubber sheet placed at 45° angle, 20 mm larger than Layer 1 on all sides.
- Layer 3: Cord rubber sheet placed at -45° (opposite to Layer 2), 20 mm larger than Layer 2.
- Layers 4–6: Continue alternating angles, each layer 20 mm larger than the previous one.
Maintain a fillet radius of 40–50 mm on all layer edges to prevent stress concentration points.
Apply a thin coat of bonding cement between each layer. Press firmly to remove air pockets.
Step 4: Hot Vulcanization
Place the release fabric over the finished patch. Position the heating plate on top, then apply pressure using a hydraulic press or C-clamps with a metal backing plate.
Vulcanization parameters:
| Parameter | Value |
|---|---|
| Temperature | 150 ± 5°C |
| Pressure | 0.5–1.0 MPa |
| Hold time at temperature | 30–45 minutes (varies by patch thickness) |
| Cooling method | Turn off heater; cool naturally to below 60°C before removing |
Monitor the temperature with an infrared thermometer throughout the process. Do not exceed 155°C — overheating degrades the rubber compound.
After cooling below 60°C, remove the clamps, heating plate, and release fabric. Inspect the patch edges for complete bonding. The patch should be firmly fused with no visible gaps or air bubbles.
Step 5: Inflation Test and Inspection
Inflate the repaired airbag to 1.25× its rated working pressure. Hold this pressure for a minimum of 30 minutes.
Inspect the repair area for leaks:
- Apply soapy water to the patch and watch for bubbles
- Listen for hissing near the repaired zone
- Monitor the pressure gauge for any drop
If the airbag holds pressure with no leaks, the repair is successful. If leaks are detected, deflate the airbag, identify the failure point, and repeat the repair process on that area.
Post-Repair Note: A properly vulcanized repair restores approximately 80–90% of the original airbag strength in the repaired zone. Henger recommends reducing the working pressure by 10% for the first three uses after a major repair, then returning to normal operating parameters if no issues arise.
Preventive Maintenance Tips
- Pre-launch: Check the airbag surface for cuts or foreign objects before every use
- Slipway prep: Remove sharp debris and metal fragments from the slipway
- Inflation: Never exceed the rated working pressure on the nameplate
- Storage: Store deflated in a cool, dry area. Apply talcum powder to prevent aging. Avoid sunlight and chemical contact
- Inspection: Full inspection every 6 months for airbags in active service
Conclusion
Repairing a ship launching airbag requires the right tools, quality-matched materials, and strict safety procedures. A properly executed hot vulcanization repair restores the airbag to near-original performance and significantly extends its service life.
The key is proper damage assessment. Not every damaged airbag should be repaired. Evaluate carefully, follow vulcanization parameters precisely, and always verify with a pressure hold test.
At Henger Shipping Supplies, we support customers throughout the full product lifecycle — from airbag selection and manufacturing to repair guidance and replacement. Contact our engineering team for technical advice or a quote.
Frequently Asked Questions (FAQ)
Minor surface repairs (small abrasion patches) can be done on-site with proper tools and materials. However, structural repairs involving cord layer damage or cracks longer than 20 cm should be performed by trained technicians. Improper repairs can lead to airbag failure during launch, which poses serious safety risks.
A standard hot vulcanization repair takes approximately 6–8 hours from start to finish. This includes surface preparation (1–2 hours), stitching and layering (2–3 hours), vulcanization and cooling (2–3 hours), and inflation testing (30–60 minutes).
For airbags used in projects requiring classification society approval (BV, CCS, ABS), a repaired airbag may need re-inspection and pressure testing to maintain certification. Consult your classification society’s requirements and the original airbag manufacturer for guidance.
There is no fixed limit, but each repair slightly reduces the overall structural integrity of the airbag. As a general guideline, if more than 30% of the airbag surface has been repaired, or if the same area requires a third repair, replacement is recommended.